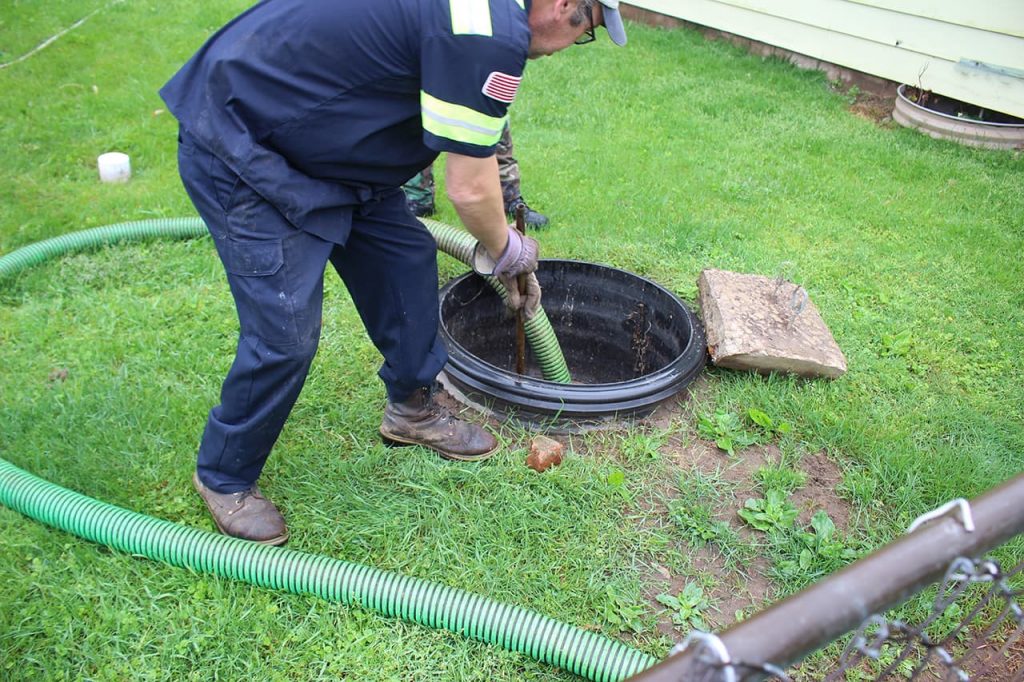
As you look at your sand mound, you wonder what you could possibly do to help it last for as long as it could. There have been many facts about sand mounds and septic systems in general that you were able to read online. But nothing seems to come close to the first hand information that you could get from a septic professional. Because it is your new home, you listened closely and really paid attention to the things that the septic professional told and showed you. What he told you the first time really stuck to your head especially when he told you how a sand mound is cleaned. Here are some of the significant steps that you were able to remember when it came to how to clean a sand mound:
1. The sand mound’s opening should be located. If it is concealed by layers of soil, then it has to be dug up.
2. The lid should be removed with a crowbar or a metal bar.
3. Proper protective gear should be donned like gloves, extra clothing, and a face shield or goggles. This is to protect you from any splatters and spills.
4. Get the filters.
5. The filter should be hosed away from the person doing it until every trace of filth is gone.
6. Replace the filters. Make sure that they are secure and fastened well.
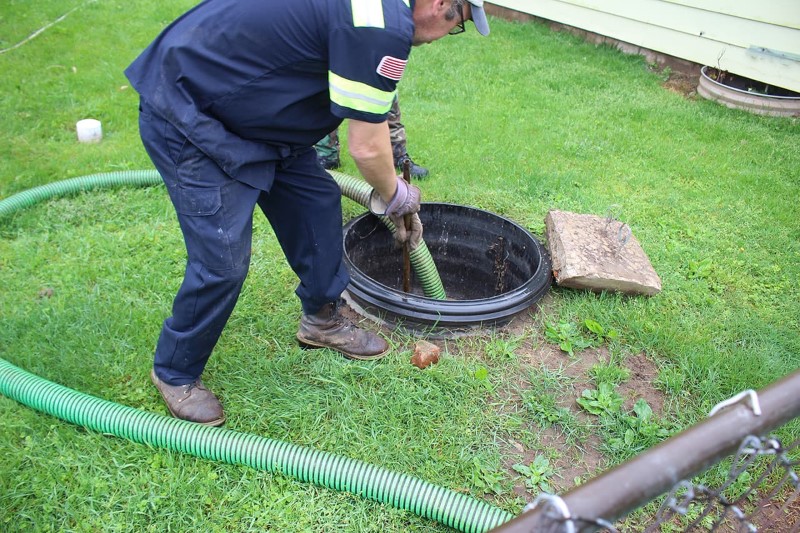
7. The septic professional’s specialized truck will pump out and collect the accumulated sludge in the sand mound’s tank area.
8. The tank is hosed further to make sure that there is no amount of sludge clinging to the sides. The water is again pumped out.
9. Then an additive (environment- and bacteria- friendly) will be added into the sand mound to balance out the bacterial population and to help them become more efficient in breaking down solid waste. This is added into toilets or in the sand mound’s tank.
10. The sand mound’s lid is then returned.
11. With a disposal certification, the septic expert could then dispose of the collected filth in the proper disposal areas.
Just like the conventional septic system, the sand mound needs proper maintenance and care. Even if the sand mound is already cleaned up for you, you should always keep in mind that you still play a part in making sure that it lasts for decades to serve you and your family. Simple things like not dumping oils, non-biodegradable materials, grease, solid fats, and very strong, corrosive chemicals into your sinks and toilets; not planting trees or woody-rooted plants over your sand mound area; not using antibacterial household cleaning agents; not allowing rainwater to drain over the sand mound; constructing dry well to lessen the water load of the sand mound; not letting any vehicle or construction over the sand mound area; and adhering to the monthly treatment and maintenance schedule recommended by your septic expert.
It can be very hard to follow sometimes but homeowners should start doing the right thing for their sand mounds because with the help the wastewater treatment facility, their households are safer and healthier. A budget and a certain amount of time and attention should be set aside to fulfill the proper care and maintenance. You may want to contact a professional and ask them to explain how to clean a sand mound. It is for your family and property’s benefit, you should stand by your duties as much as you can.
